Saturday, October 31 (Halloween!), tasks for the day: 2 retreat sessions, marketplace (I know, I know), and spin-in party
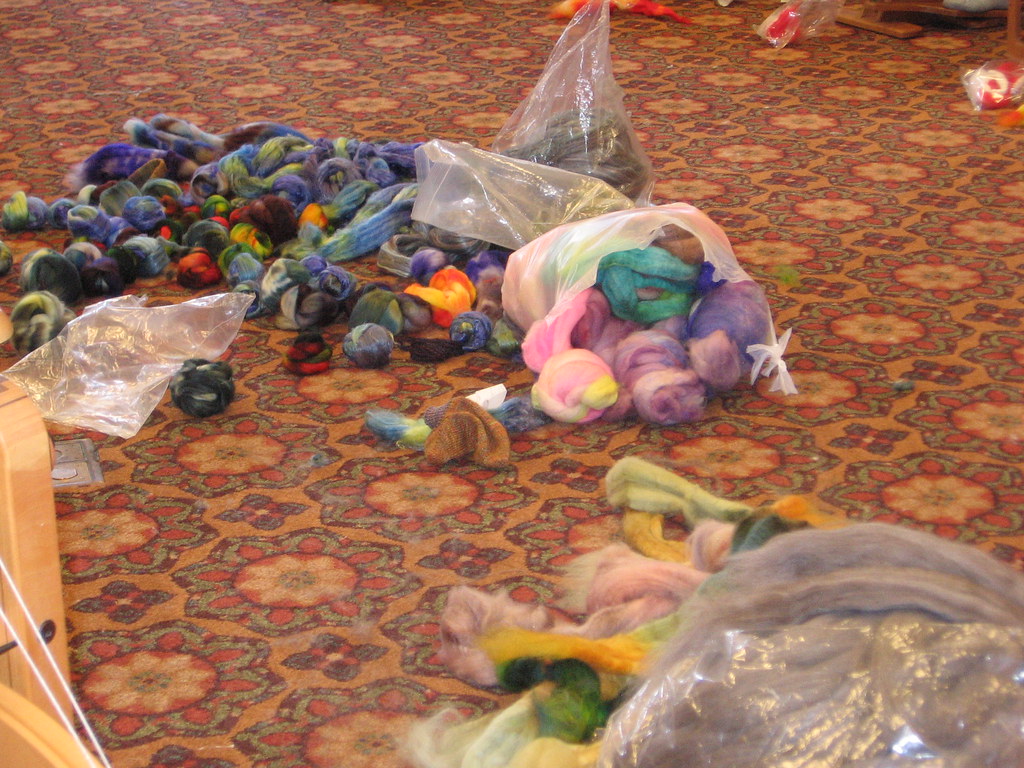
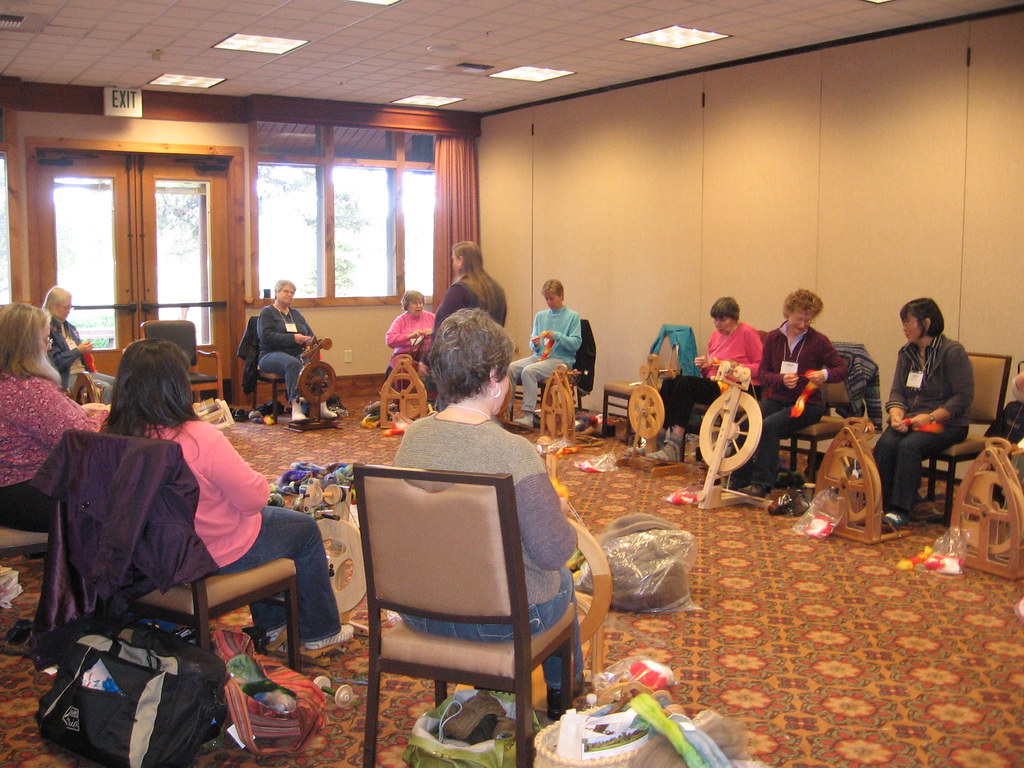
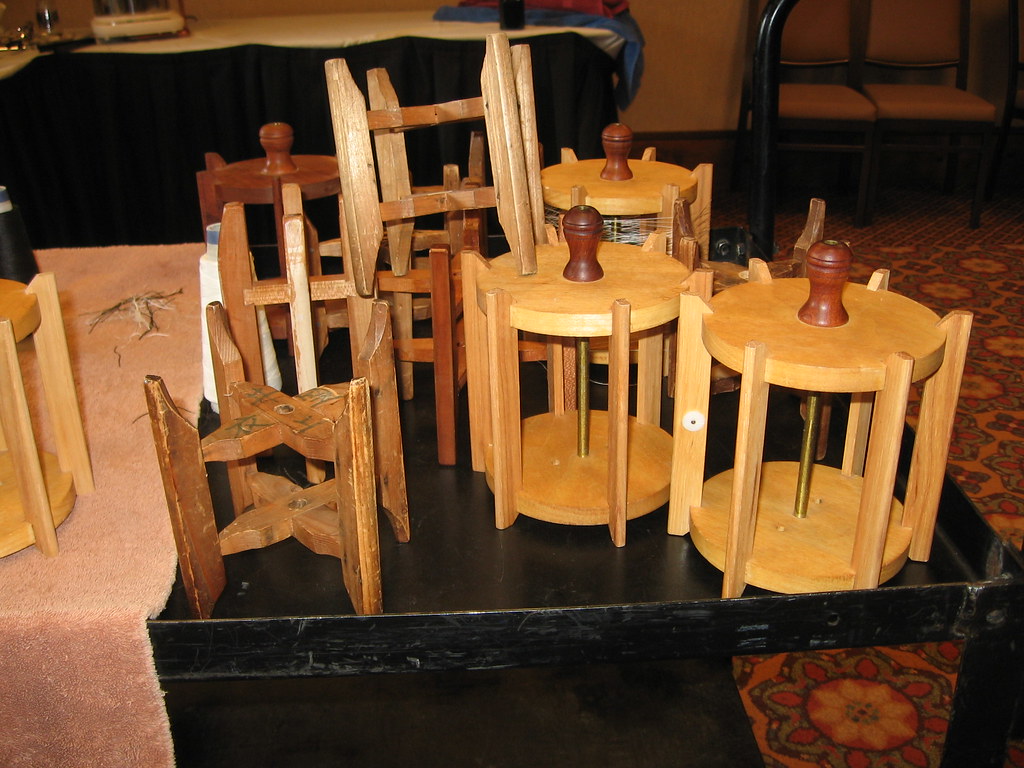
Happy Halloween! On Saturday, I once again got up super early (surprise, surprise!) and went off to breakfast. From there I moved on to my sock class. I love knitting socks so taking a class on spinning for them made perfect sense! The class was appropriately called Spinning for Socks and was taught by Janel Laidman. Many of us arrived early and got our wheels set up. We were greeted by a wonderful sight in the middle of the room.
I decided that I would set my wheel up for plying only and spin my singles on my various drop spindles. See, this is the advantage of having *cough* many drop spindles. When we got ready for plying, I wound my singles off onto a paper tube or left them on the spindle and put them in empty water glasses so they wouldn't go spinning across the room. Mostly my system worked well except when the paper tube flew out and would bounce all around under my chair.
Janel had everyone go around the room and say who they were, where we were from and how long we've been spinning. It was so interesting to hear about the different ladies' stories. Some of them had been coming to SOAR since the very first one! It was neat to hear how spinning has changed since they first started spinning. They recounted stories about being snowed in and other craziness. Times like that were my favorite part of SOAR. Talking with people and listening to their stories was just so interesting!
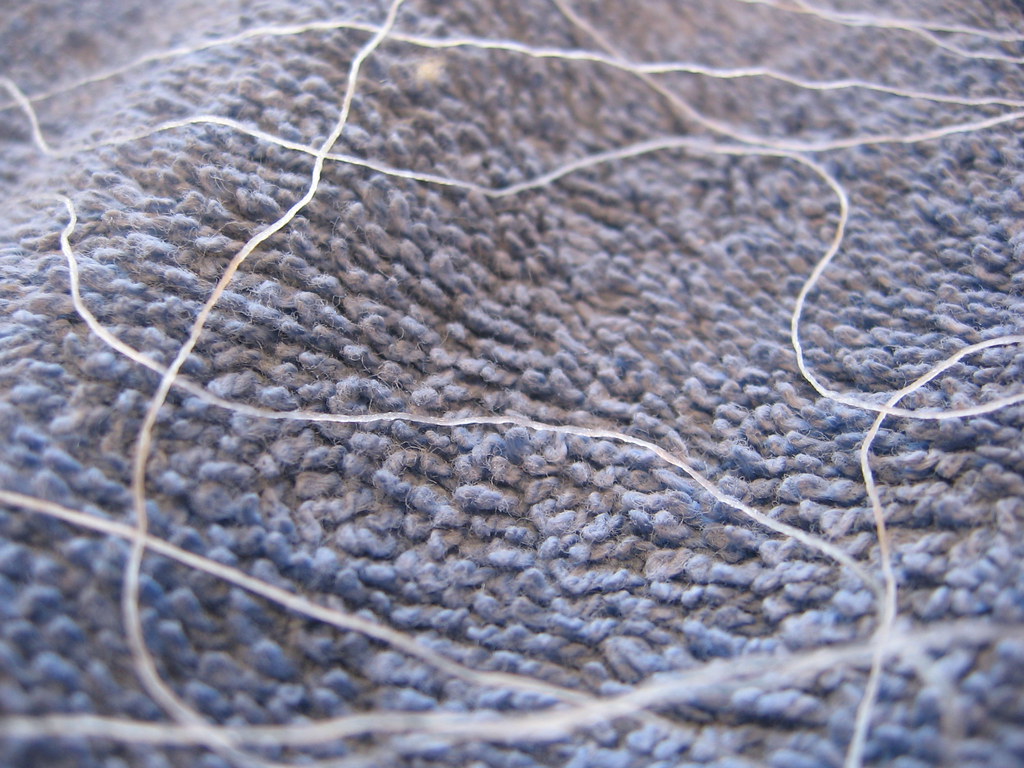
Janel recommended BFL for its softness and durability. Most of the fibers we used in the class were BFL, actually. She recommended, if you are using a fine wool, blend it with something like nylon, tencel or bamboo to make the fine wool stronger. To get a strong, dense yarn, you should use a worsted spinning technique. Woolen spinning would give you a lofty, warm yarn but it wouldn't be as durable. Janel also recommended using 3 or more plies for your sock yarn. Her reason for this is, with more plies, more surface area is hidden within the yarn. With more surface area hidden, there is less chance for the yarn to abrade and make holes. It also makes the yarn stronger the more plies there are. My "lovely" picture shows a 3-ply yarn and those itsy-bitsy red scrawls are the parts of the surface area hidden by the ply. (Hey, it's really hard to draw on Google docs with your mouse!)
Janel recommended having a twist angle of 45 degrees for sock yarn. Now, I'm not that technical of a spinner. If you are interested in learning more about twist angel, she told us to check out the Essentials of Yarn Design by Mabel Ross. It has a diagram in it that helps you figure out what twist angle you have put into your yarn. We also talked about twists per inch, another way of describing twist angle. Janel had us spin our singles in different colors so we could easily see how many twists we have per inch. They definitely had a barber pole effect! Twists per inch helped us a lot in our plying.
For plying, Janel told us a simple formula.
For a 2 ply, you want your ply twists to equal 2/3 of your spin twists per inch.
For a 3 ply, you want your ply twists to equal 3/4 of your spin twists per inch.
For a 4 ply, you want your ply twists to equal 4/5 of your spin twists per inch.
In other words, the more plies you have, the more twists per inch you should have. One liberating thing Janel told us is that your plied yarn doesn't have to hang perfectly straight (i.e. a perfectly balanced yarn) to make a good sock yarn. As long as your yarn is finished correctly (washed and dried without a weight hanging on it), your twist will be set. If you want a yarn that is lofty and soft, she recommened using fewer plies. But if you want a hard wearing and strong yarn, you should err on the side of caution and put in more plying twists per inch. In fact, she said you can sometimes go up to 1 1/2 times the spinning twist. I always have felt like I put too much twist in but that is apparently not the case! It was easy to see with all of the different colors of the singles. One of mine was red, another brown, the third an orange/yellow, and the 4th a yellow/green. It was definitely an interesting mix.
We practiced doing a 3 ply and a cabled 4 ply yarn. The cabling was very helpful. The idea behind cabling is you spin 4 singles all the same direction. Then you ply 2 together and 2 together so you have 2 2-ply yarns. So you've started with yarns that were all spun clockwise and now have plied them counter-clockwise. (Confused yet?) Then you take those 2 2-plies and you ply them together the original direction (i.e. clockwise) to get your cabled yarn. Janel described it as having the bumps of the plies looking like a string of pearls. I've cabled a yarn before but wasn't sure if I was doing it the right way. I think the yarn I did before had too few twists per inch as I was plying it.
My final retreat session was probably my most entertaining one. I took the Silk Work Sampler with Michael Cook and it was really fun. I took the class because I figured that it wasn't something I could find at home. I might be able to take other spinning classes but probably wouldn't come across someone as knowledgeable about silk as Michael.
First off, let me tell you how bad his room smelled. After a week of cooking silk cocoons, it was definitely pungent! :) Columbia Sportswear was coming into the resort as we were leaving and setting up a runway in Michael's room. They must have wondered what in the world those crazy spinners were doing!
Michael taught us how to reel silk first. He had been simmering the silk cocoons for about an hour or so until all of them were softened up. We used a scrubby brush like the kind you use on really stubborn dishes to find the ends of the silk cocoons. Basically we pummeled the tops of the cocoons and then pulled the brush up. All of these really fine strands were hanging on to the end of the brush. We then threaded those filaments on to the silk reeler and were able to start reeling silk.

Michael had us do 50-70 arm lengths of silk. He warned us that it wouldn't seem like much but, once we started adding twist to it, we would feel like the silk went on forever. Let me tell you how true that was!
After our 50-70 arm lengths were measured out, everyone wrapped their silk onto these bobbins (or were they spools?) that Michael had brought. They are very similar to the traditional Chinese tools used for this purpose. They help the silk not tangle as you are spinning it and helps it dry.
Then we raced to spin up some of our silk. Why was it a race? Because we had to put our silk in a degumming bath for 45 minutes in order for it to turn into really nice silk. We were coming up to the 45 minute mark so everyone's spindles or wheels were flying! My partner and I both got a good amount spun up but we still had more on our spools. We both decided to have before and after degumming samples just because we knew we couldn't get everything finished and still make the 45 minute cut-off. The differences between the two samples are amazing! The before is stiff, wirey and yellow-ish. The after, however, is a blinding white that is super soft and silkly (duh, it is silky, right?). I'm kind of glad that I have both samples to show people.

What did we do for the next 45 minutes you might ask. Well, we learned how to make silk hankies. Silk hankies are layers of silk cocoons stretched out over frames to make them into squares. If you want to play with silk, I would highly recommend making hankies. I actually taught our spinning guild how to do this at our next meeting. Thankfully, where we meet has a sink and stove so it was very easy. Anyway, back to making hankies at SOAR.
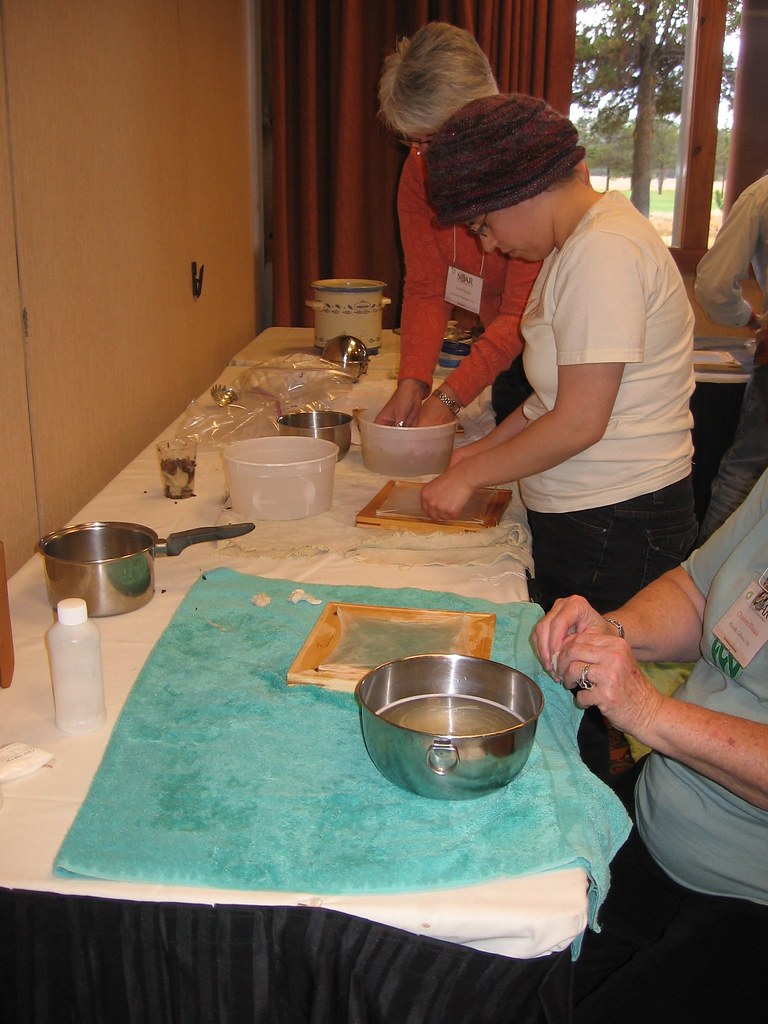
Go to Michael's website and he has a very good photo tutorial about the process. First, you simmer the cocoons in a degumming solution to loosen them up. Then you tease one of the ends open and dump out the silk worm and its poo (it's a glamorous project, let me tell you). Next, you dunk the cocoon in a bowl (or cup) of water and work it between your fingers. It is almost like a white egg yolk will come off of the cocoon. Once you no longer have the white yolk coming off, you start stretching the cocoon like a pizza crust. It will amaze you how far it can stretch. Michael had us stretch between 5 and 10 cocoons onto square frames. After we were finished stretching, we rinsed them in clear water then an acidic rinse (water and vinegar). In class at SOAR, we followed that up with a fabric softener rinse to make it easier to spin the silk later so it wouldn't catch as much on your hands. Michael recommend that you skip that step if you wanted to dye the hankie latter. In my mini-workshop at my spinning group, I didn't have them do the fabric softener because a) they might want to dye them later and b) my family doesn't use fabric softener so I would have had to buy some. After you are finished with the rinsing, you take the hankies off of the frame and squeeze out the water. It was so much fun! I'm really happy that I took Michael's class because I learned so much.
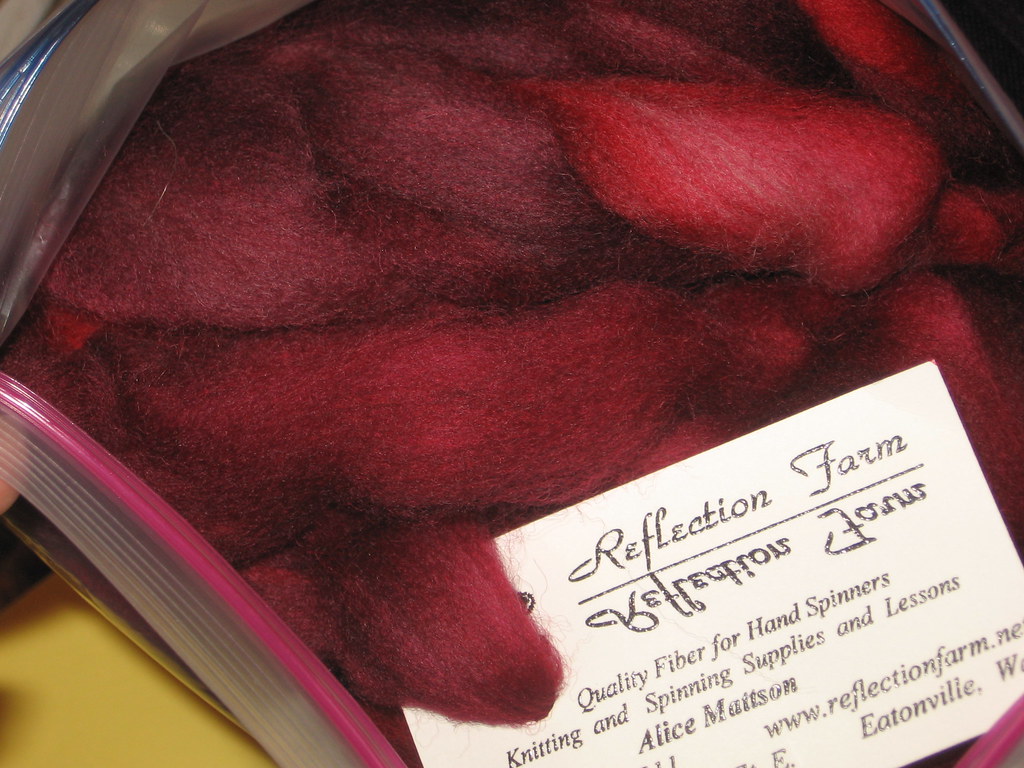
After things were finished in class and we got our newly degummed silk skeins, my partner and I headed back to the marketplace (I know, I know, how many trips was that?). But it was my last chance of the weekend! Anyway, I still wanted to pick some things while I didn't have to pay for shipping. I bought 12 weaving bobbins that I could use for plying. I've already put a number of them to use so they've been really helpful. I also broke down and got some more fiber. It is a fantastic wool (why can't I find my notes about sheep breed?) that reminds me of mixed berries. It's totally outside of my color range but I love it!
I also broke down and bought a Turkish spindle from Carolina Homespun. I've never used a Turkish spindle so I was really interested in learning how to use it. More about that later.
After leaving the marketplace for the last time, I ran back to the room to change into my costume, a giant Reese's package. We all went to dinner and then hung around for the spin-in. The spin-in was a little surreal. They had a karaoke machine but the guys who were running it seemed to think all of us would like big band era music. I guess they thought spinners would be a whole bunch of grandmas. Hardly anyone got up to sing until the alcohol started flowing. Then the music being sung was much better. My group and I moved into the lobby area where it was a little quieter and we could have a chance to visit.
I wish I had taken pictures of some people's costumes. My favorite was Denny's because she was dressed as a torch bearer for the Winter Olympics. She had a Toronto Olympics shirt on and was holding a spindle with some fire-y fiber attached to the top. It was fabulous! You could tell where she was in the building by the random bursts of the Olympic theme.
I crashed around 11pm and went back to the room, not quite ready for the next day when everyone would go home.


1 comment:
Awesome. I have to go to this someday! Thanks for the detailed wrapup!
Post a Comment